LLM
The "Vibe Coding Keyboard" How I Made My Walk-and-Talk Setup Even More Awesome
So, picture this: you’re working at a walking desk, you’ve got a cool voice-to-text tool like MacWhisper running, and you want to control it all with just a couple of dedicated keys. That was the dream that led me to build what I now call my “Vibe Coding Keyboard.”
Why Voice Control in the First Place?
Before I get into the keyboard itself, let me explain why I’ve gotten so into voice control. A considerable part of my day involves Slack and Discord conversations, and voice mode is high-speed for firing off replies. I also use it to drive Claude Code sessions and other workflows, and it’s just become second nature.
But the real game changer is the walking desk. When you’re walking and working, typing gets awkward fast. Your arms are in weird positions, and trying to maintain your stride while reaching for your keys just looks clumsy. With voice mode, I can quickly dictate a response to an email or message, clean it up if needed, and keep moving. It’s way more natural than contorting myself to type while walking.
Why a Dedicated Keyboard?
I already had an Apple Magic Keyboard that I loved. It’s sleek and all, but I kept running into a minor but annoying problem: I was running out of keys to assign to all my voice-control shortcuts. I tried using the function key as a makeshift “vibe” key, but it just wasn’t cutting it.
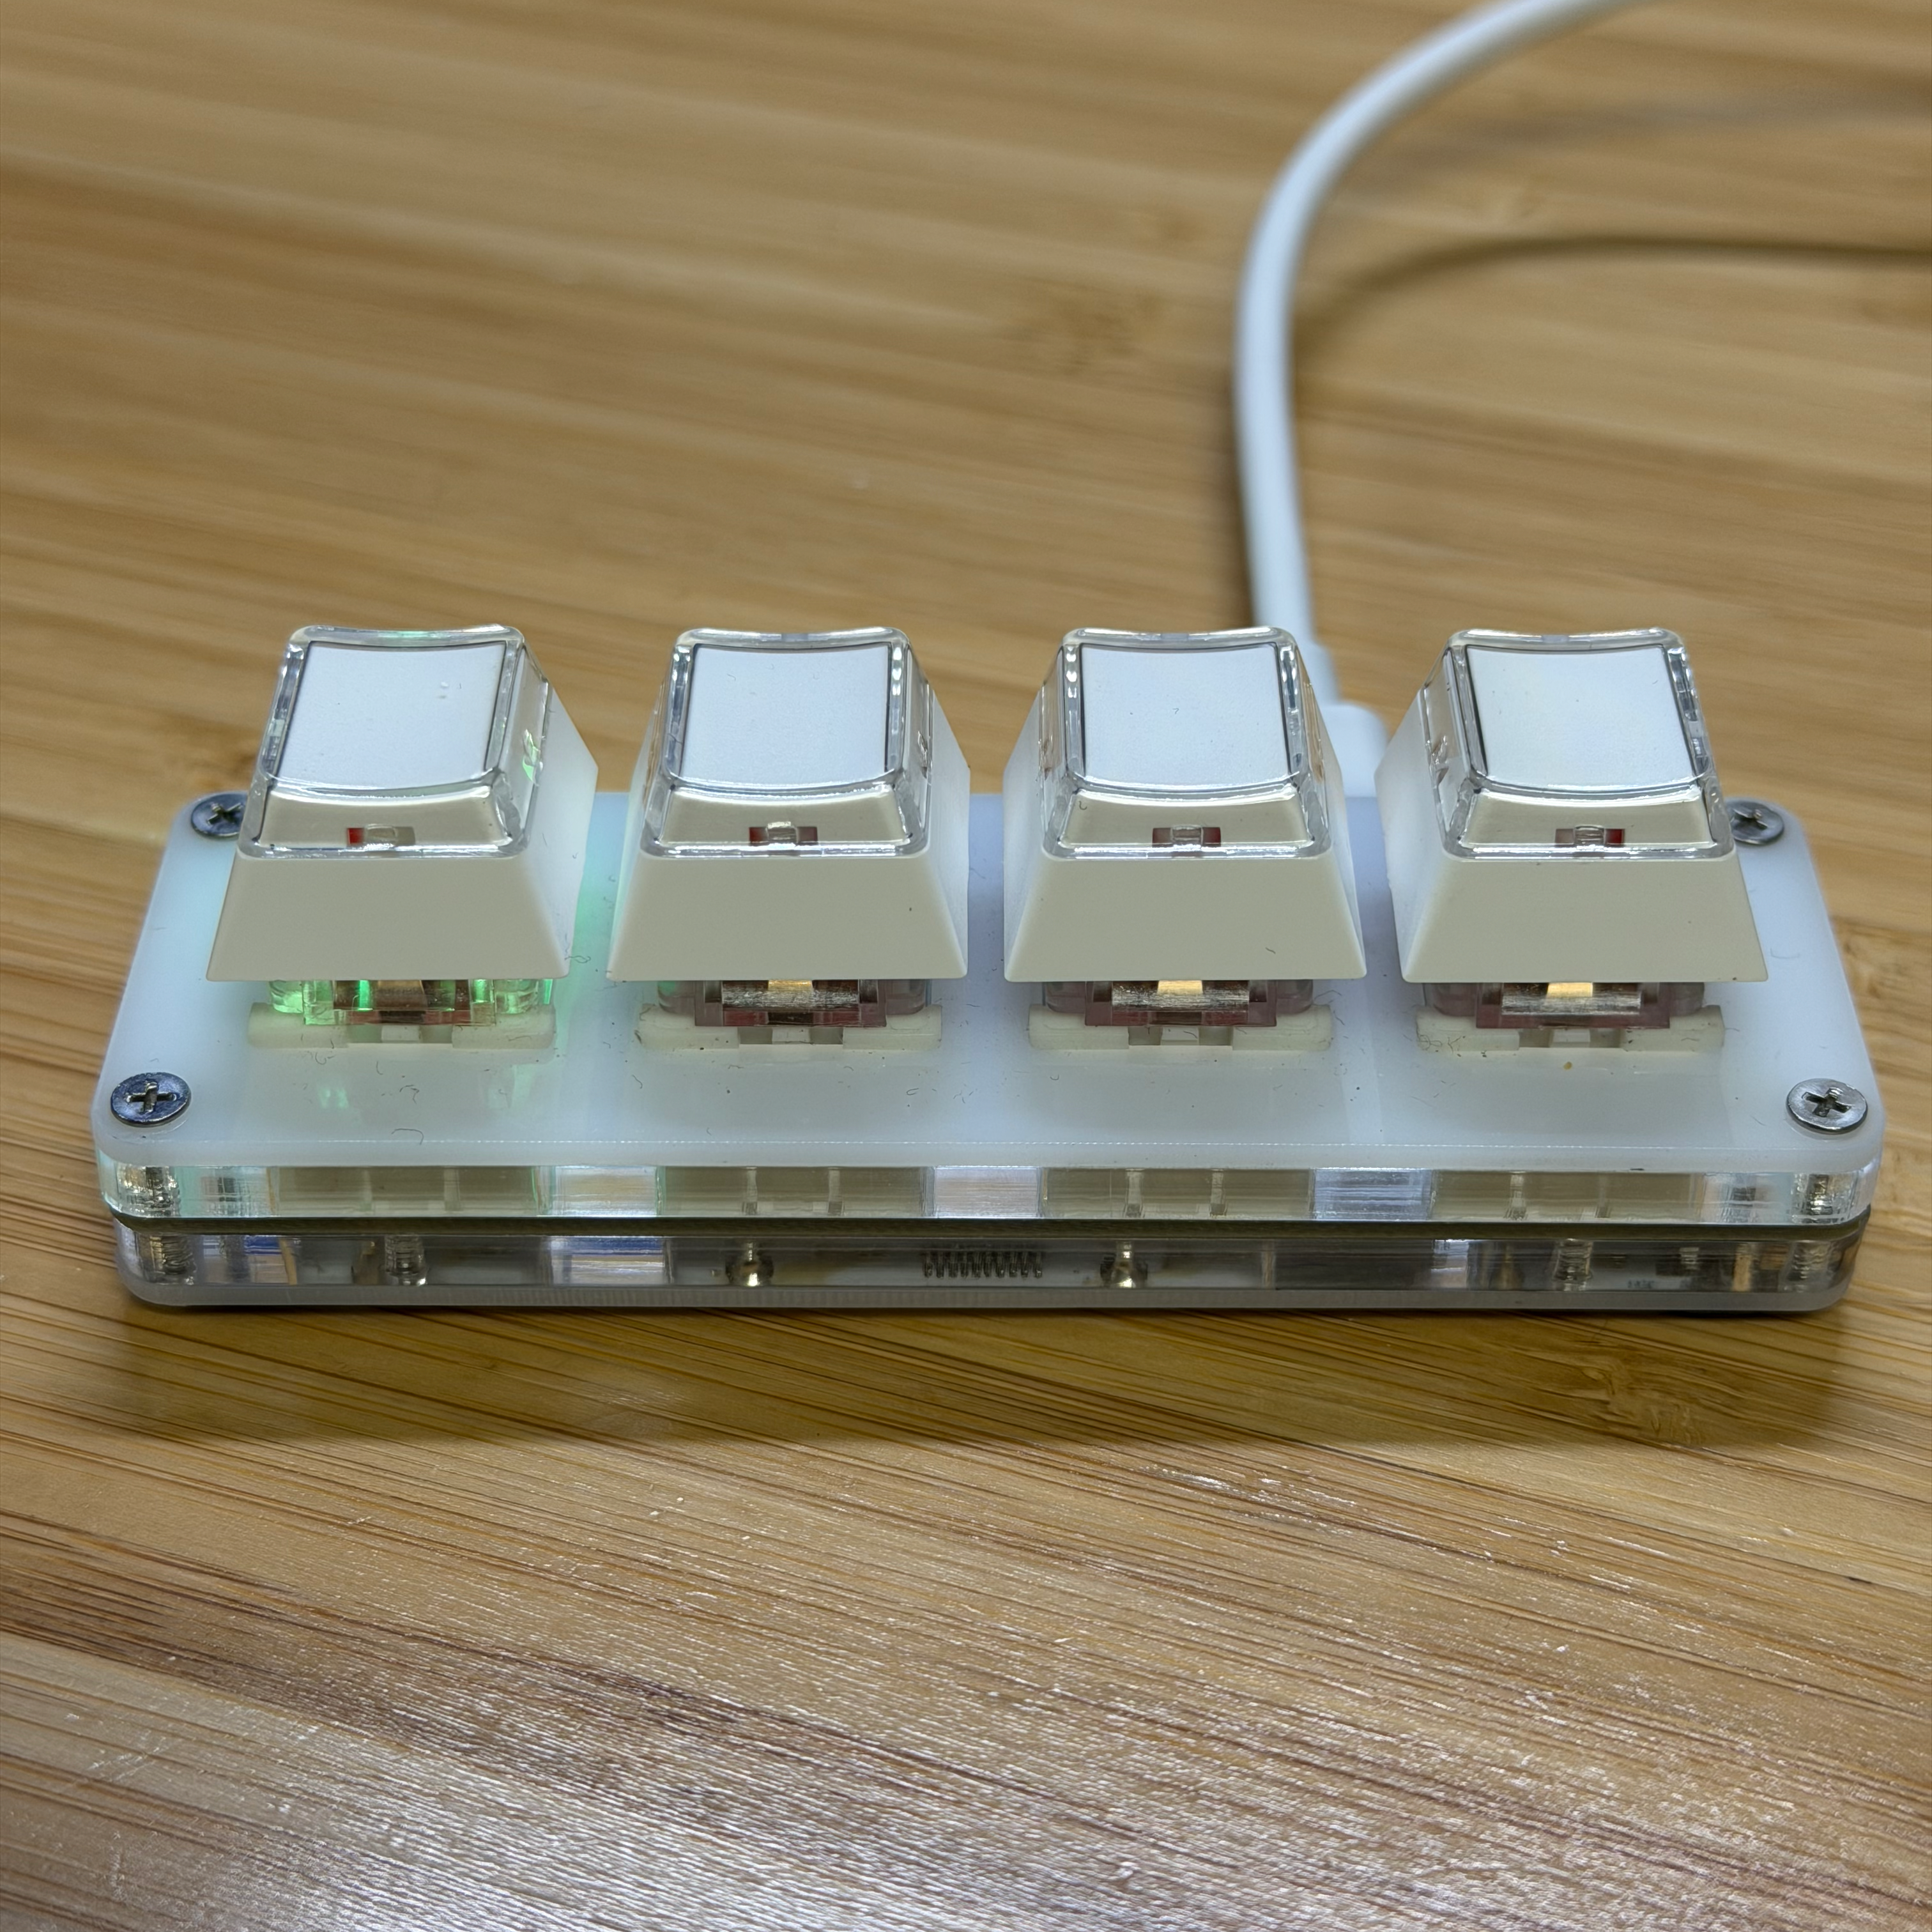
So I went looking for the smallest possible external keyboard I could find. I wanted something that would just plug in like a regular HID keyboard, no extra drivers or fancy setup. I originally tried to find a two-key keyboard, but I couldn’t find any that were USB-C. So I went with the BTXETUEL 4-Key Mechanical Keyboard instead, and it turned out to be perfect. Its small enough that it doesn’t take up much space, and having four keys actually gives me a bit more flexibility than I originally thought I needed.

Setting Up the Vibe Keys
Here’s how I configured it:
-
Key 1: My “vibe” key. This one toggles MacWhisper’s dictation mode on and off. I just tap it, and boom, I’m in voice mode.
-
Key 2: Enter key. Super handy for confirming commands or just hitting “enter” without reaching for my main keyboard.
-
Key 3: Backspace. Because voice-to-text sometimes needs a quick correction.
-
Key 4: Escape key. Just a nice little “get me out of here” button if I need to exit a mode or cancel something.
And because I wanted a bit of flair, each key has an LED that can change color. I made the vibe key cycle through a rainbow pattern, so it stands out and literally “vibes.”
The Fun of Customization
The best part is how customizable this little gadget is. I even 3D-printed some LEGO keycaps just for fun. It’s become a hobby project, and it has made voice coding even more enjoyable for me.
A Boost to Productivity (and Fun)
In the end, it’s not something you absolutely need, but it’s been a surprisingly nice productivity boost. Plus, it’s just plain cool to have a dedicated vibe key that lights up in rainbow colors while you work. If you’re into voice mode coding or want a fun little side project, give something like this a try!
Written by Jeff. Dictated via ChatGPT 5.1. Edited with Grammarly and Claude Code.
Wednesday November 19, 2025